Wayne Lightning Tutorial


1) Open the link below in a NEW TAB. http://www.scribd.com/doc/66670344/Media-Level-Ladder. On the page click on the button that says EMBED (its on the right hand side of the page)
There will be two boxes in front of you with a weird code in it. Find the one that says Embed This Document. Highlight and copy all the weird code in that box.
2) Go to YOUR blog homepage and click on NEW POST. Call the new post "How I am going to be marked."
3) When the new post box comes up look at the top right of the box for the tab that says EDIT HTML. CLick on it.
4) Right click in the box and choose PASTE. This will paste in all of that funny code you just copied from my site.
5) Then next to that EDIT HTML tab you just clicked on, click on the COMPOSE tab.
6) Now click on the orange PUBLISH POST button at the bottom. When you view your blog, you should now see the mark scheme pop up and be able to zoom in and out to read it clearly! SIMPLE
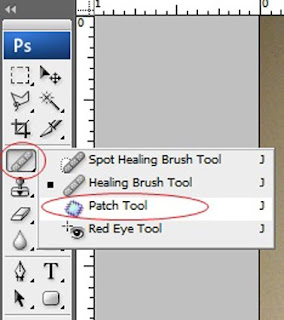
 The Spot healing Brush - literarlly click on spots to get rid of them
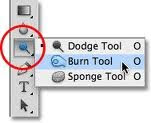
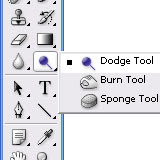
 Blur Tool - makes things blurry / soft focus
 Smudge Tool - smudges things! (see picture above)
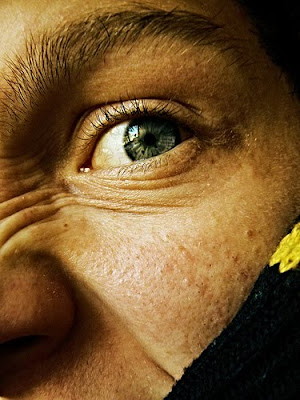
 What about trying to make this woman look thinner or fatter using the LIQUIFY tool?
 How about changing this woman's eye colour? or her lipstick colour?
 Why not cut this man out of the white background and put him somewhere else?
 Why not cut this car out and put it on a different background?